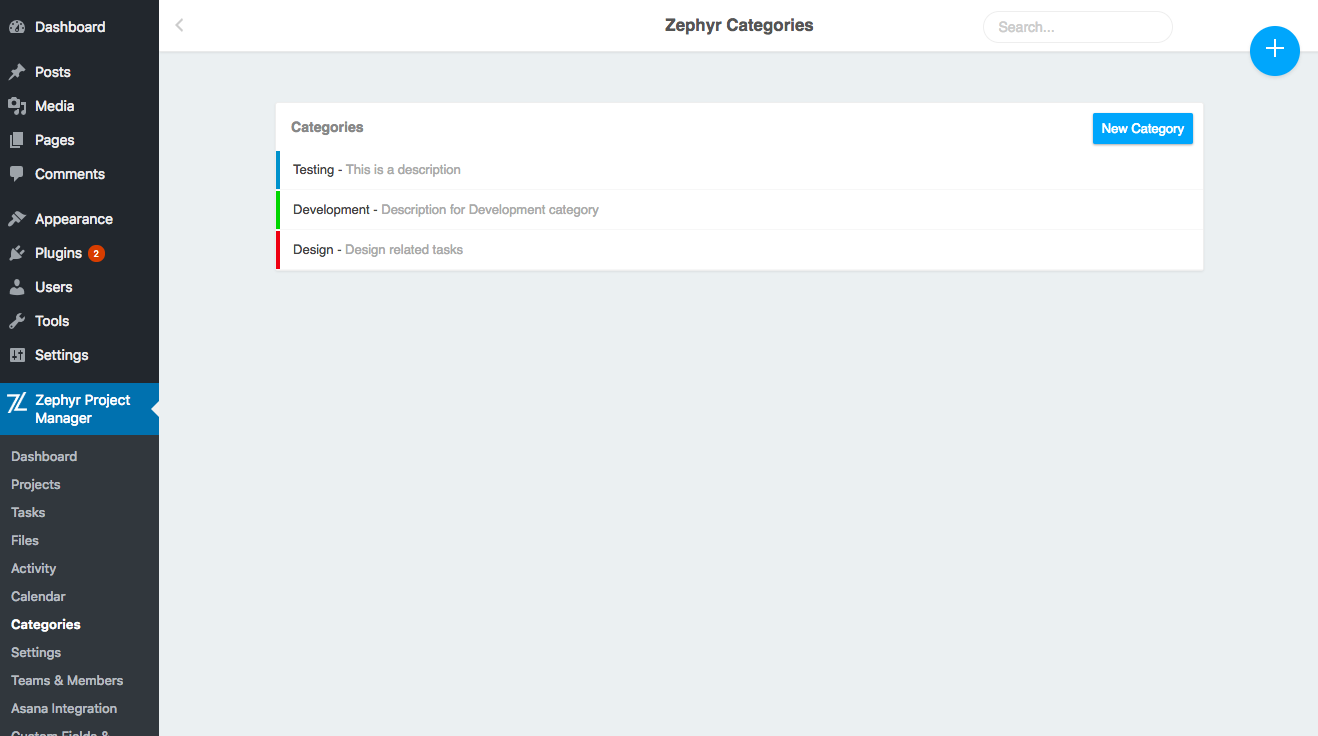
Categories allow you to separate and manage projects and tasks even further.
Creating Categories
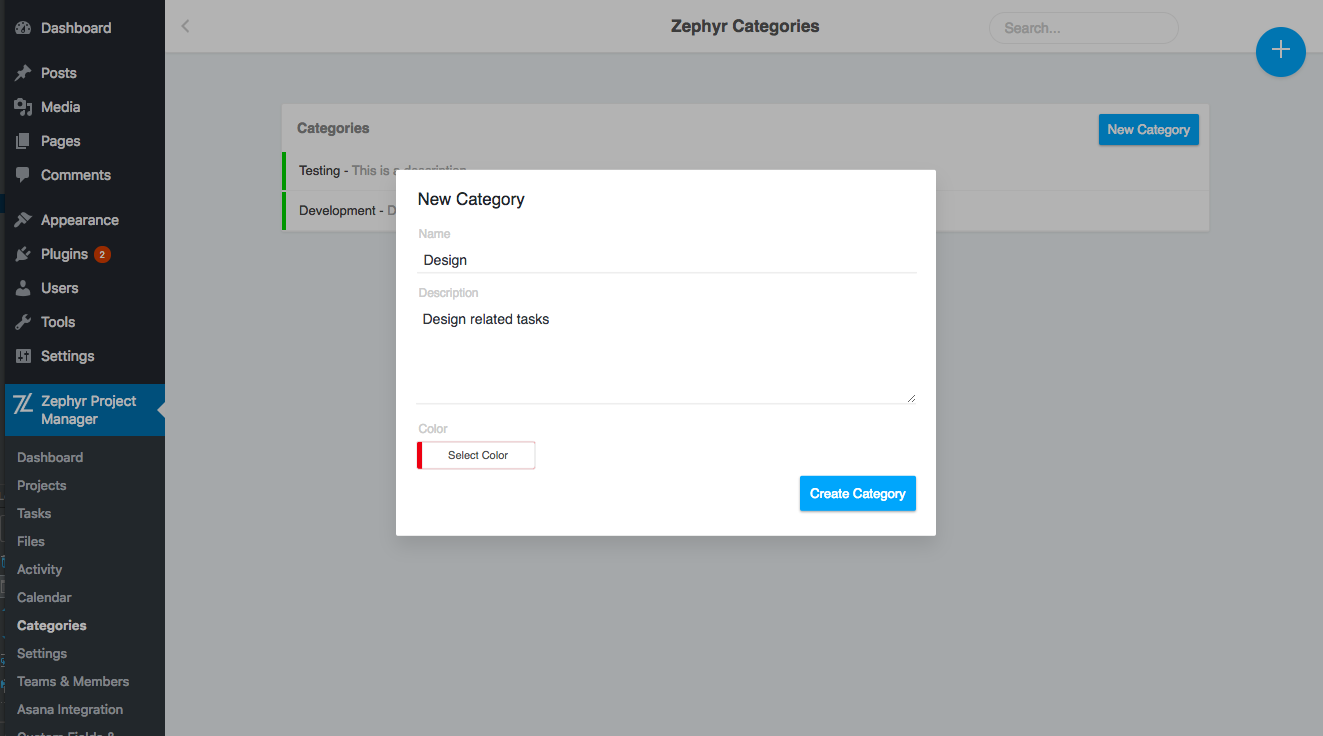
You can create a category by going to Zephyr Project Manager > Categories and clicking on the New Category button.
This will open a popup for you to add the category Name, Description and Colour. Save the category by clicking on the Create Category button.
Editing Categories
You can edit a category by clicking on it in the category list on the Categories page, making your changes and clicking on the Save Changes button to save the changes.
Deleting Categories
You can delete categories by clicking on the cross icon that appears when hovering over the category on the Categories page.
Assigning Categories to Projects
You can assign categories to projects from the Project View page, which you can access by going to the Projects page, clicking on the project you want to add the category to and clicking on the Go to Project button. From here you can select the checkbox next to the categories you want to assign to the project and click on the Save Changes button to save the changes.